
How to Take Product Photographs with a Mobile Phone

Even a basic mobile phone like mine can take a usable image of a product in the right conditions
How can I improve my product photography myself?
If you’re in the early stages of launching your brand, only have one or two products, or are simply selling privately online as a hobby or sideline, it can be difficult to justify the expense of bringing in a professional product photographer to create images for you to use. So you might want to try doing it yourself.
But it’s not just a case of picking up your phone and clicking away. I’m always surprised by how often I see genuinely terrible photos on listings on Ebay and Vinted. For something that only costs a few pounds it probably doesn’t make much difference. I buy plenty of my photography equipment second-hand, though, and when the seller is looking to get hundreds of pounds for their item there’s really no excuse for poorly lit, blurry or badly composed photos.
The good news is that with all but the most basic of cameras, good light, and a little know-how, anyone can improve the product images they are creating.
Can I use a phone for product photography?
The short answer is, Yes, you can. But the key to success is in understanding what the camera on your phone is trying to do on your behalf, and learning how to make it do what you actually need. For this guide, I’m going to look at a very basic, catalogue-style image showing an individual product on a white background. This is an essential image for e-commerce photography - it’s the best way to show your customers what the item looks like, with no distractions.
Obviously, product photography can include far more advanced set-ups or “lifestyle” shots featuring more true-to-life settings and backgrounds, but it’s a good idea to start with the basics.

Take a table, a sheet of white paper, and a mobile phone, and there you have it - a temporary product photography studio!
Where is the best place to take a product photo?
If you have no photographic equipment other than your phone, I recommend using natural light if possible. Artificial lights usually have either a blue or yellow hue that human eyes (or more accurately, our brains) adjust to automatically. However, cameras can struggle with this unwanted colour tint, resulting in discoloured images. So whenever you can, use daylight. Counterintuitively, this might not mean finding the brightest spot in the house. Direct sunlight streaming through a window will definitely illuminate your product, but it can also introduce harsh shadows and blown-out (over-bright) areas.
Also, avoid using the built-in flash on your phone. Mobile flashes produce a harsh, very localised light. Also, they tend to be positioned right beside the lens, meaning they fire directly forwards at whatever you’re photographing. Nearly everything looks better with light coming more from the side, as the shadows will look more natural and give a better idea of the three-dimensional shape of the object.
Outside or indoors next to a window on a bright but overcast day works well. Clouds diffuse the light from the sun, meaning the object is evenly lit with nice soft shadows. I had a sunny afternoon to work with for this example shoot, so I set up my low-tech kit on the shady side of my house. It’s literally just a folding garden table and a sheet of white paper taped to the patio door. (Pleases excuse the state of the decking; we ripped it up a couple of weeks later!)
Once you’ve chosen a location, the first thing to do is put your product in position and check how it looks. You’re likely to need to take pictures from multiple angles to show customers what the item looks like from the side, behind, above, etc. But there will usually be one main image that will show up in its search listing and be the equivalent of the headline on a news article - the most enticing image you can create to draw people in. This is often called the “hero” image, and it’s a good idea to establish what that image will be early on in the process.
How do I prepare my product for the photoshoot?
Even if your product is brand new, it’s worth giving it a thorough clean to make sure it’s looking its best. Snip off any stray threads, polish away any fingerprints (it may be worth handling the item using a cloth or non-marking gloves if it has a glossy or reflective surface), and get rid of any dust. It’s surprising how something barely noticeable on the product itself can become strikingly obvious in a photograph.
The same goes for the background - whether you’re using a white paper sheet, a cloth backdrop, or just a pale tabletop, it’s a good idea to make sure it’s as spotless as possible. Any marks, crumbs, or other bits and pieces can show up in the background and either spoil the look of your product photographs, or have to be removed digitally afterwards.
It’s also worth making sure your phone’s lens is free from dust and fingerprints - give it a wipe with a soft cloth to get the front of the lens gleaming.
Should I use Manual or Auto mode to take my product photos?
Be wary of trusting the tech! A camera on Auto mode will capture an image based on a number of assumptions. It will generally try to even out the brightness levels across the frame so that nothing is too dark or too bright, and to find a white balance (a measure of the ‘colour temperature’ - how cool (blue) or warm (yellow) the image looks) that makes sense for a typical scene. Imaging algorithms are ever-more sophisticated, but we’re not yet at a stage where your phone can always understand what you’re photographing and how you intend it to look.
Here’s the shot I took with my phone’s standard “Auto” mode:
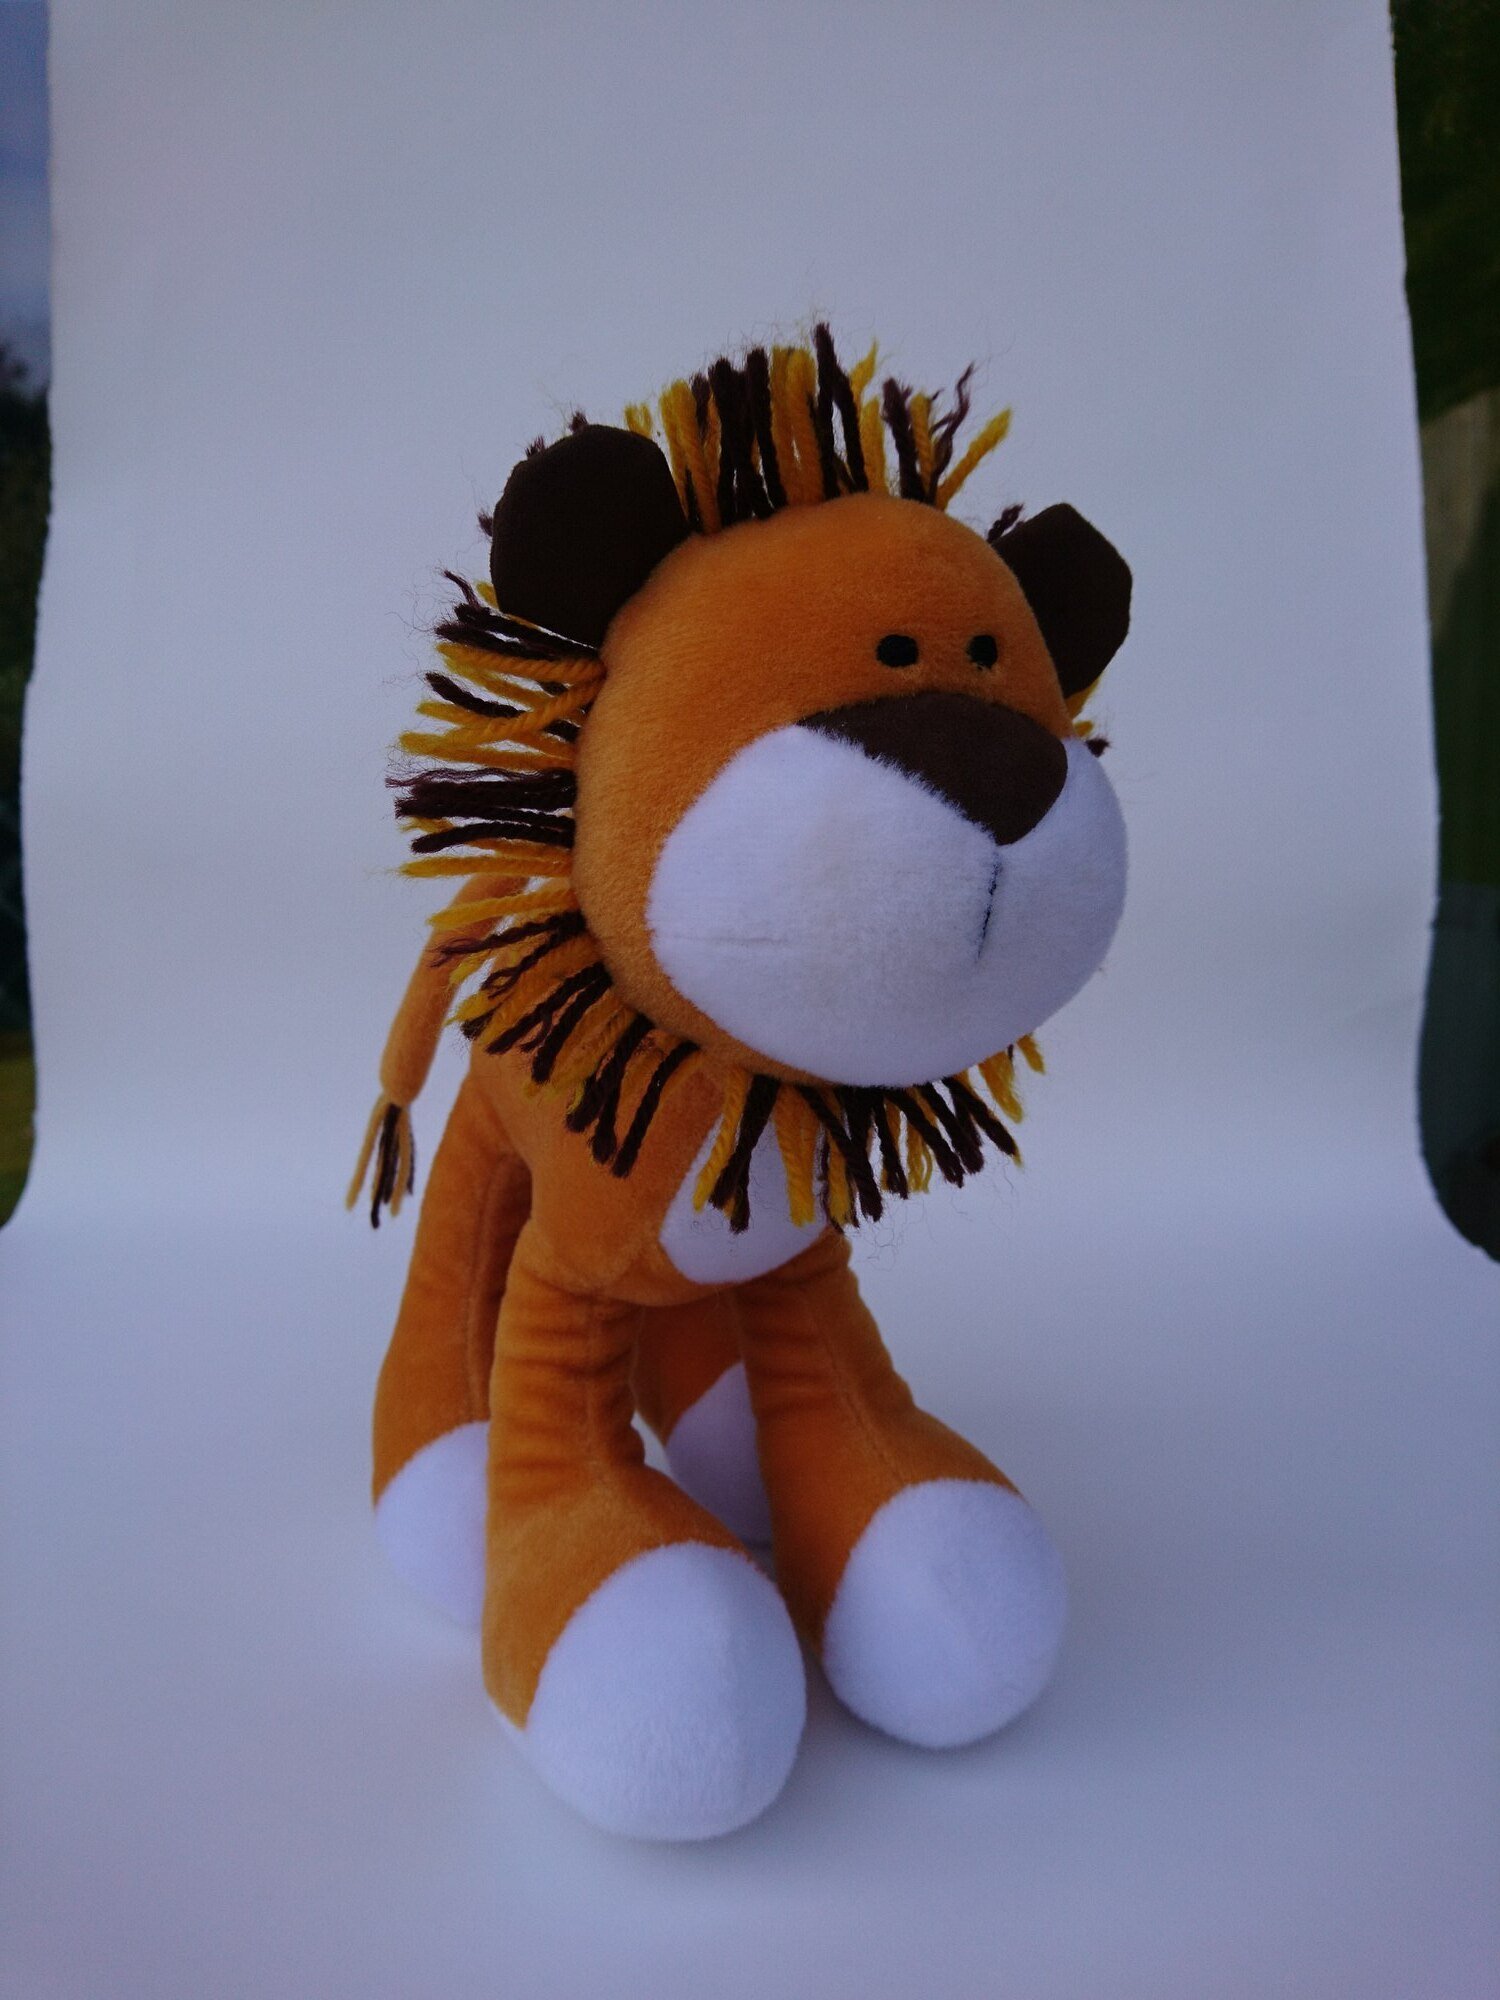
Letting the camera decide what the image should be is not always the best solution, especially for catalogue product photography
It’s okay, but it’s not really doing poor old Lewis the Lion justice. His fur’s come out as a rather drab shade of orange and the background is dull grey rather than bright white.
The scene in front of the lens has confused the phone, as it has tried to average out the brightness levels across the photo, rather than have a bright subject on an even brighter background. So, the camera needs a bit of a helping hand to create the image I’m looking for.
My mobile phone’s definitely not cutting-edge, but its built-in camera app does offer some manual control over the photographs it takes. If you haven’t already, it’s worth digging into the features available on your camera app that let you adjust the various settings involved in taking the photo.
To take control of some of the basic ingredients of the image, I switched to Manual (M) mode (every phone is different, so check how to do this for yours), and made the following adjustments:
To correct the colour, I set the white balance (WB) to the Shade setting (shown by the little cloud icon). Outdoor shade tends to have a blue hue and using this setting compensates for this by “warming up” the image - shifting its colours towards yellow instead.
As I was shooting handheld (i.e. not using a tripod or other way of holding the phone still), I increased the shutter speed (SS) to 1/1000 of a second to ensure a sharp image (this was probably much faster than necessary, but my time was limited and I wanted to get an image I knew would be crisp. You should be fine with any speed from 1/250th or faster, but experiment and see what works best).
Finally, to compensate for the darkening effect of using a fast shutter, I used exposure compensation (the EV value) to boost the brightness. This will increase the ISO (light sensitivity) of the camera, which can introduce digital “noise”, seen as a mottled, slightly pixelated effect. Again, as this was just a quick example and isn’t intended for viewing at full-size, I was happy to make that compromise.

Using the manual settings on your camera app allows you more control over how the final image looks
This resulted in the following shot:

Taking control of the camera app settings produced a much brighter image with more realistic colours.
This is far closer to what I was looking for. The colours are true, the background is nice and bright, and overall the image just looks more appealing. This provides a great base to edit the picture, to further refine and improve the photo.
How do I edit a product photograph on my mobile phone?
I use Snapseed on my Android mobile. It’s a free and relatively straightforward app that has both pre-defined ‘filters’ and a suite of adjustment tools that let you control various aspects of the way the image looks. There’s a multitude of different editing apps available, many of them free or free to try, so test a few out and see which suits you best.

Finishing touches complete - a boost to the brightness and contrast, a little more saturation, and just a tweak of sharpening.
Firstly, I used the crop tool to pulling in the outer borders of the photo. This removed the untidy and distracting edges of the paper background.
Then I used the slider controls within the Tune Image function to increase the brightness and contrast. These have the effect of helping the lion toy stand out a little more. Then I made small adjustments to the saturation level and added a little more structure and sharpening to emphasise the detail in the fur.
With all of these controls, it’s best to adopt a “less is more” approach; particularly with saturation and sharpening. It’s easy to overdo it and end up with a very fake looking image. For purely artistic projects, this may be allowable or even desirable, but for product photography the aim should be to create an image that represents as closely as possible the item the customer will actually receive.
The final image isn’t perfect - for a start, there’s a ripple in the white paper that means the background has an odd shadow halfway up, which I could have sorted with a couple of extra bits of tape - but I hope it serves as an illustration of how a little effort and minimal equipment can create a decent image for a product.
Limitations of mobile phones for product photography
Mobile phones aren’t generally designed for taking product photographs. Most have a wide-angle lens - intended for capturing landscapes and fitting several people into selfies - and distort images to some extent so they can fit as much as possible into the frame. Lewis the Lion has large feet anyway, but the lens on my mobile phone has exaggerated this further. At the same time, his body and tail, in the middle of the shot, look slightly smaller than in reality. Whether this is a problem depends on the type of product you are photographing and the exact characteristics of your phone’s camera lens. Try it out and see before making a decision.
Higher-end phones may feature a dedicated “portrait” or telephoto lens. If yours does, it could be worth using that function as it should minimise any distortion.
The most significant difference between phone cameras and dedicated cameras is the size of the sensor - the light-sensitive panel inside the phone that captures the image. Phone sensors are tiny compared to even an entry-level camera’s, and this means the amount of information they can harvest per pixel is greatly reduced too. It can be hard to capture fine detail, like Lewis the Lion’s fur, the texture of things like leather or cloth, or anything with a distinct pattern like carbon fibre. The small sensors in mobile phones can also produce slightly “mushy” colours, or odd artefacts caused by the phone’s processors attempting to fill in some of the gaps in the image data.
What can a professional product photographer offer instead?
A mobile phone can be a great tool to get images when the priority is to get your store up and running. But if you are selling small, detailed, or high-end products, the images achievable with a mobile can lack that extra ‘pop’ needed to really showcase your products. There are two main reasons for this - firstly, the way light hits the product and, secondly, the level of detail that can be captured by that specific camera.
Product photography requires control over light, and a professional will have a bank of equipment that allows light to be directed, shaped, bounced, diffused, reflected, and coloured to provide the ideal conditions for each individual product. And with a dedicated professional-level camera, high-resolution images with rich, realistic colours and pin-sharp detail will help show off your product in all its glory.
I hope this guide has been useful. If I can help with your product photography needs, please don’t hesitate to get in touch.